How to File a Pet Insurance Claim Step-by-Step
Imagine this: you’ve just rushed your pet to the vet for an emergency — perhaps your cat swallowed a bit of string, or your dog injured their leg during a walk. After the initial worry eases, the vet hands you a hefty bill, and it hits you — it’s time to file a claim with your pet insurer.
But how? What forms do you need? What if you forget something?
Navigating the pet insurance reimbursement process can feel daunting, especially in the middle of an emotional event. The good news? Once you understand the steps, it’s not nearly as complicated as it first seems.
In this complete guide, we’ll walk you through the process of filing pet insurance claims, from what to prepare to what to expect, and how to avoid common mistakes. Whether you’re using traditional paper forms or a modern app-based system, this step-by-step breakdown will help you feel confident and in control when it matters most.
Why Filing Pet Insurance Claims Properly Matters

Filing a claim isn’t just paperwork. It’s the bridge between an expensive vet bill and your much-needed reimbursement.
Getting it right can mean:
- Faster payouts
- Less back-and-forth with your insurer
- Reduced stress at an already challenging time
- Full utilisation of your policy benefits
Miss something important? You risk delays, partial reimbursement, or even a rejected claim.
Let’s break it down so that doesn’t happen to you.
Step 1: Understand Your Policy First
Before your pet even gets sick or injured, it’s a good idea to read your insurance policy thoroughly. It may not be the most exciting read, but it will help you know:
- What’s covered and what’s excluded
- Your policy limits (e.g. annual cap, condition cap)
- Excess amounts (what you pay before insurance kicks in)
- Reimbursement percentages
- Time limits for claim submission
Pro tip: Some insurers have different rules for pre-authorised vs. post-treatment claims, especially for planned procedures like dental work or diagnostics.
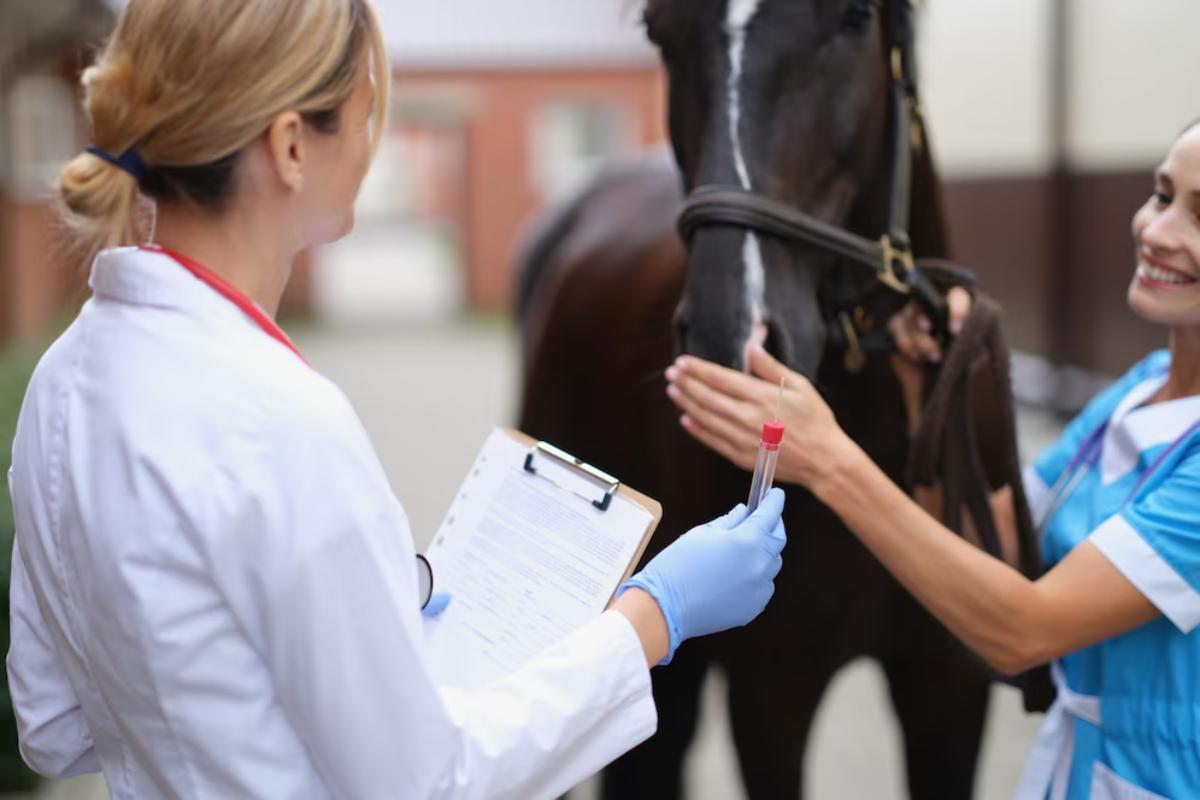
Step 2: Save Your Vet Receipts and Medical Records

Once your pet receives treatment, get a detailed invoice or receipt from your vet. It should include:
- The name and description of services
- Breakdown of costs (consultation, X-rays, medication, etc.)
- Date of service
- Vet’s contact details
- Your pet’s name
Also, request medical notes or a treatment summary, especially for ongoing or complex conditions.
Some insurers won’t process a claim without vet records, particularly for high-cost treatments.
Step 3: Download or Access Your Claim Form
Most pet insurance companies will have a claim form available via:
- Their website
- A mobile app
- By email or post if requested
There are usually three sections:
- Policyholder section — your details and your pet’s information
- Treatment section — description of illness or injury
- Vet’s section — to be completed and signed by your vet (some apps bypass this with direct vet uploads)
Step 4: Fill Out Your Portion Accurately
In the policyholder section, you’ll be asked for:
- Your name, address, and policy number
- Pet’s name, species, breed, and age
- Date the condition started
- Treatment dates
- Whether this is the first claim for this condition or an ongoing one
- How you’d like to be reimbursed (bank transfer is standard)
Be precise. If dates or descriptions are vague, the insurer may request more information, delaying your payout.
Step 5: Get Your Vet to Complete Their Section
If your vet doesn’t upload details directly to the insurer (some do), you’ll need them to:
- Confirm the diagnosis or issue
- List treatments administered
- Sign and stamp the form
Most practices are used to doing this and will charge a small admin fee (usually £5–£15) for their time.
Tip: Some insurers will accept scanned or photographed vet notes — always ask first.
Step 6: Submit Your Claim Promptly

You’ve completed the paperwork — now it’s time to submit your pet claim.
Common ways to submit:
- Via the insurer’s mobile app (fastest and most convenient)
- Online portal with document upload
- Email to claims@yourinsurer.co.uk
- Post — slower but accepted by most traditional insurers
Include:
- Completed claim form
- Itemised receipt
- Medical notes or history, if required
- Any supporting documents (e.g. X-rays, blood results)
Important: Most insurers have a submission window, usually within 90–180 days of treatment. If you miss that window, your claim may be declined.
Step 7: Track Your Claim
After submission, many insurers will email you a confirmation with a claim reference number.
You can typically track the status via:
- The mobile app
- Their website portal
- Email or phone (especially for traditional providers)
Expect processing to take:
- 2–5 working days for digital-first providers like ManyPets or Waggel
- 1–2 weeks for traditional insurers like Petplan or Animal Friends
If your claim is delayed, check for:
- Missing documents
- Conflicting details
- Request for additional vet info
Step 8: Receive Your Reimbursement
Once approved, your payout will be sent via:
- Bank transfer
- Occasionally by cheque
You’ll receive a settlement letter or email, breaking down:
- Total claim amount
- Deducted excess
- Your reimbursement amount
- Explanation of any shortfalls or exclusions
Example:
- Total vet bill: £1,200
- Policy excess: £100
- Co-pay (10% of £1,100): £110
- Final payout: £990
What If Your Claim Is Denied?
It happens — but it’s not the end of the road.
Common reasons for denial:
- Claim submitted late
- Treatment for a pre-existing condition
- Missing documentation
- Exceeded your annual limit
- Condition not covered (e.g. behavioural issue without referral)
What to do:
- Review the denial letter carefully
- Contact your insurer — ask for clarification
- Appeal the decision — especially if you have additional vet notes or clarifying documents
- Escalate to the Financial Ombudsman (UK) if the issue remains unresolved and you believe the insurer was unfair
Tips for a Smooth Claim Every Time
- Keep digital records — scan or snap receipts on your phone
- Create a pet insurance folder — include your policy, claims, and communications
- Submit as soon as possible — delays can create stress and errors
- Use the same vet regularly — it builds a consistent record
- Ask your vet — many have preferred insurers and know how to avoid common claim pitfalls
Real-World Story: Daisy and the Dental Drama
Anna’s spaniel, Daisy, needed urgent dental surgery after cracking a molar on a bone. The bill came to £1,350, including X-rays, anaesthesia, and post-op meds.
Anna filed her claim via her insurer’s app within 48 hours:
- Uploaded her scanned invoice
- Included vet notes
- Completed the form in under 10 minutes
Within three working days, the insurer reimbursed £1,200, minus the excess and 10% co-pay.
“The app made everything so simple,” Anna said. “I never thought claiming could be easier than booking the vet appointment.”
Conclusion: Be Ready When You Need It Most
Having pet insurance is one thing. Using it effectively is another. When your furry (or feathered) friend needs care, the last thing you want is paperwork stress or a delayed reimbursement.
By understanding the pet insurance reimbursement process, knowing how to submit pet claims accurately, and preparing in advance, you can protect both your pet and your peace of mind.
Let’s recap:
- Know your policy inside and out
- Keep all receipts and vet notes
- Submit claims promptly and completely
- Track your claim and follow up if needed
- Ask for help — your vet and insurer are there to support you